Installation and Setup
How to install the Clear Server and Clear User Interface, and complete post-installation configuration.
Clear consists of two core components. Both must be installed for full functionality:
- Clear Server — the backend service responsible for device detection, wipe execution, method enforcement, logging, and reporting.
- Clear User Interface — the interface used to manage devices, configure wipe jobs, monitor progress, and access audit-ready reports.
Step 1 — Download the installer
Download the Clear installation package from the official distribution portal, or obtain it from your system administrator.
Step 2 — Install the Clear Server (recommended first)
Double-click the Clear Server Installer.
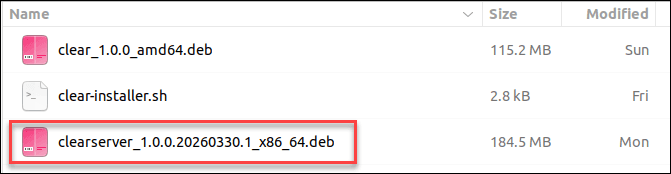
The installer dialog displays. Click Install.
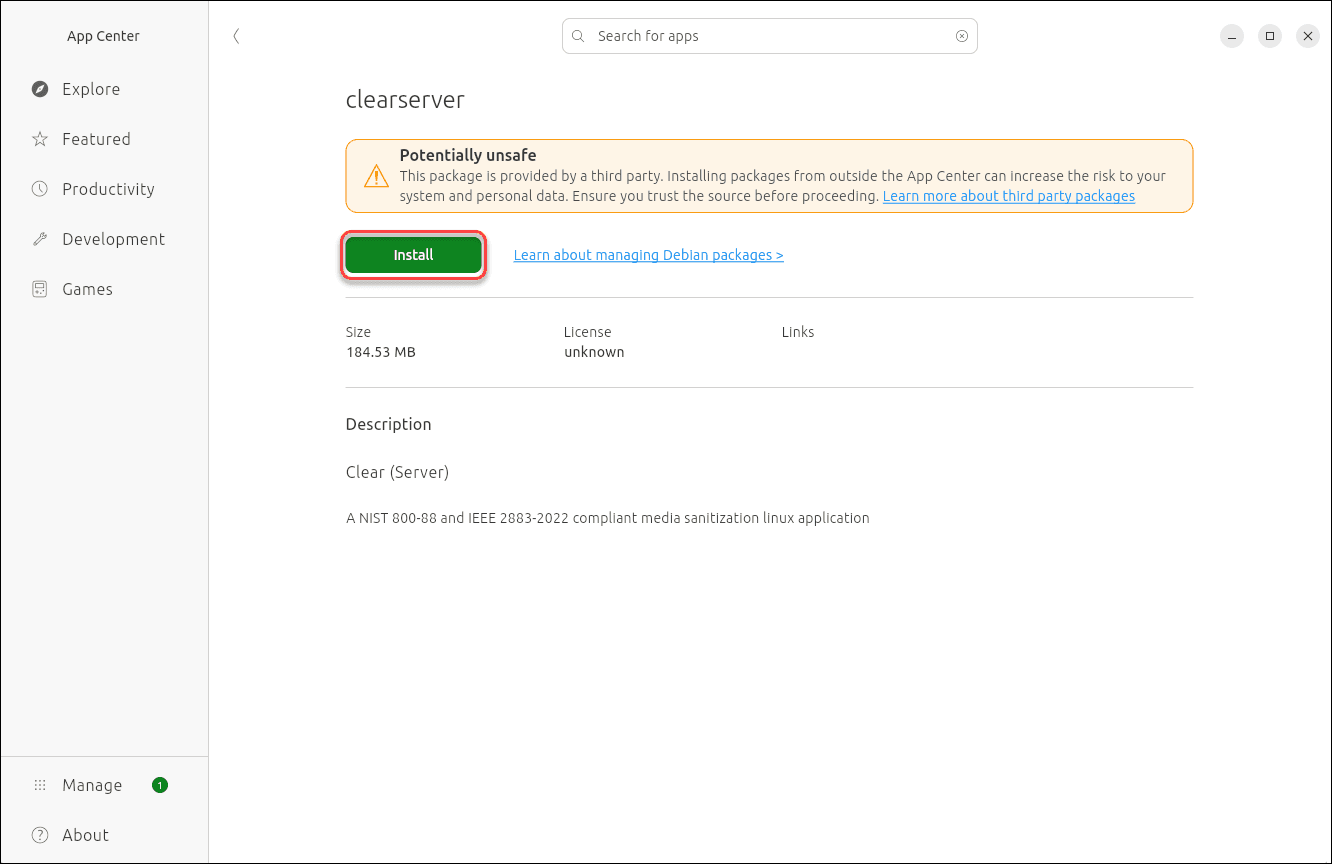
A security warning displays. Click Install again.
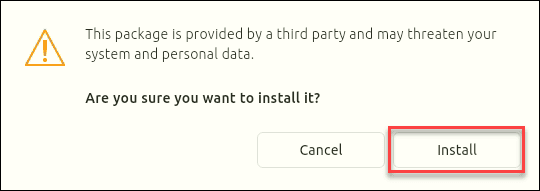
Enter your administrator password and click Authenticate.
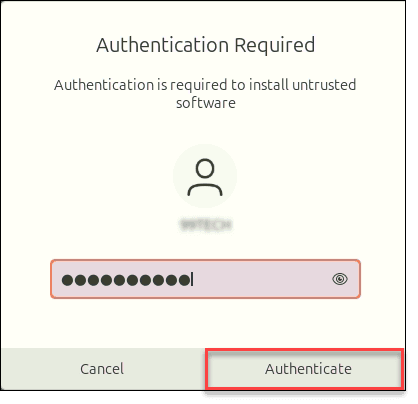
The Clear Server installs on your system.
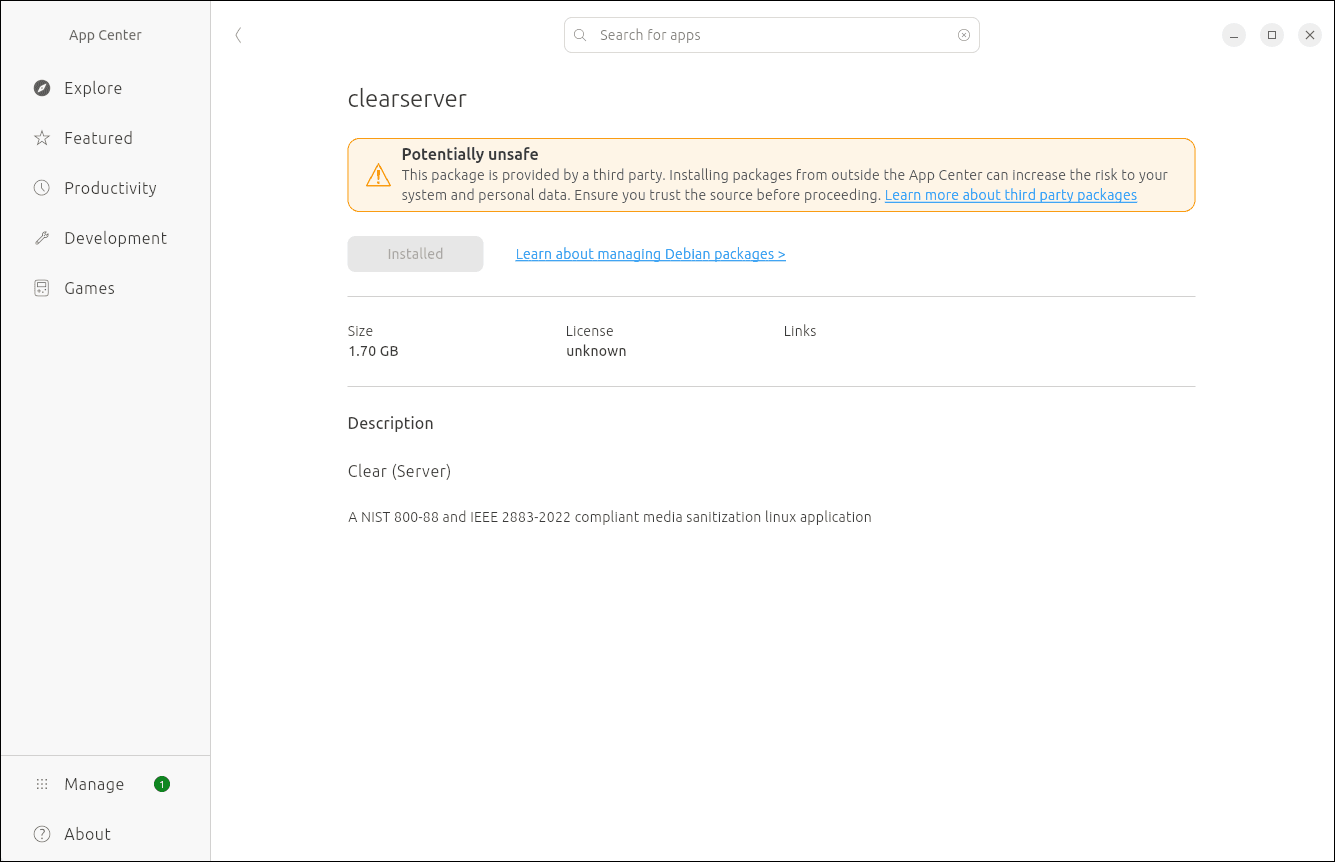
You've now installed the Clear Server. Next, install the Clear User Interface.
Step 3 — Install the Clear User Interface
Double-click the Clear User Interface Installer.
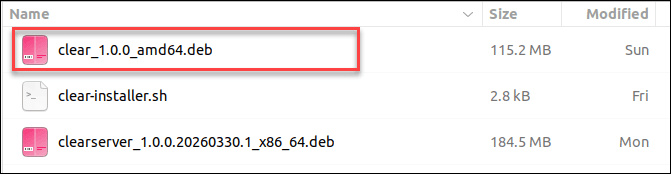
The installer dialog displays. Click Install.
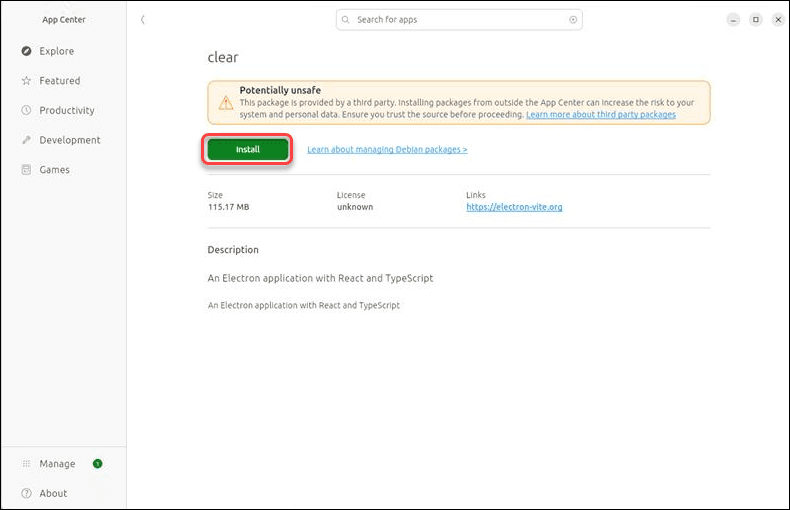
A security warning appears. Click Install again.
The Clear User Interface installs on your system.
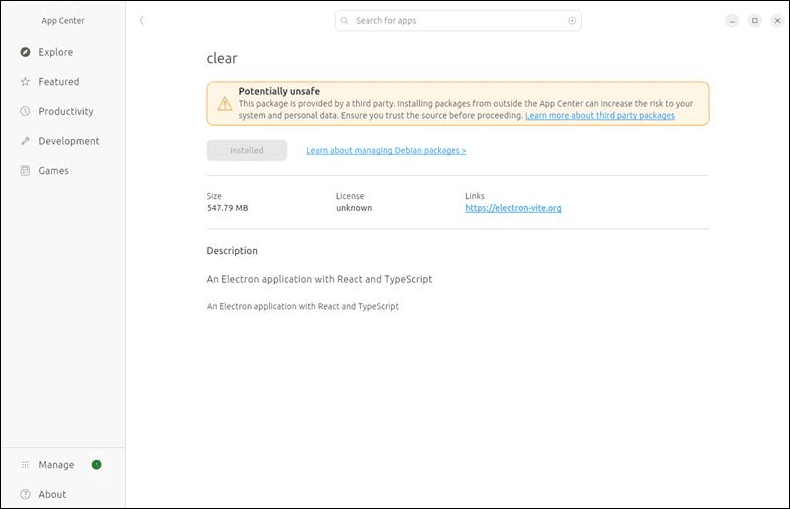
Installation is now complete.
Step 4 — Post-installation configuration
Complete these steps before launching the application.
Configure GRUB for ATA/SATA SED support
Note that...
This step is required for Clear to manage ATA/SATA Self-Encrypting Drives (SEDs). If skipped, a warning appears at launch and SEDs won't be accessible through the application.
Open Terminal and edit the GRUB configuration file:
sudo nano /etc/default/grubFind the line starting with GRUB_CMDLINE_LINUX_DEFAULT and add the following option inside the quoted values:
libata.allow_tpm=1Example:
GRUB_CMDLINE_LINUX_DEFAULT="quiet splash libata.allow_tpm=1"Save the file, then apply the change and reboot:
sudo update-grub
sudo reboot
License key configuration
Before configuring the license key, make sure both the Clear Server and Clear User Interface are installed. You'll also need either a license key or a pre-configured server_config.json file from Ninety Nine Technologies, LLC.
If a pre-configured server_config.json file has been provided:
Navigate to the server configuration directory:
/usr/clear_server/Config/Back up the existing configuration file:
sudo cp /usr/clear_server/Config/server_config.json /usr/clear_server/Config/server_config.json.bakReplace the configuration file with the provided file:
sudo cp /path/to/provided/server_config.json /usr/clear_server/Config/server_config.jsonVerify the license key is present:
sudo grep -i "license_key" /usr/clear_server/Config/server_config.jsonConfirm the output shows a non-empty value, e.g. "license_key": "XXXX-XXXX-XXXX-XXXX".
If you received a license key instead of a pre-configured file:
Open the configuration file:
sudo nano /usr/clear_server/Config/server_config.jsonLocate the licensing section and replace the empty license_key value with your provided key.
Save the file: Ctrl+O, then Enter, then Ctrl+X.
Verify the change was saved:
sudo grep "license_key" /usr/clear_server/Config/server_config.jsonConfirm the output shows your license key instead of an empty string.
Step 5 — Launch Clear
Click the Clear icon to launch the application.
You'll be prompted for the system administrator password each time you open Clear — this grants Clear the privileges it needs for direct hardware access.
Next: Overview and Navigation