Project Configuration
Create projects, edit their wiping configuration, set a licence quota, and mark projects inactive.
The Projects page in the Configuration group is where projects are created and maintained. To review a project's wipe results, use Projects in the Overview group.
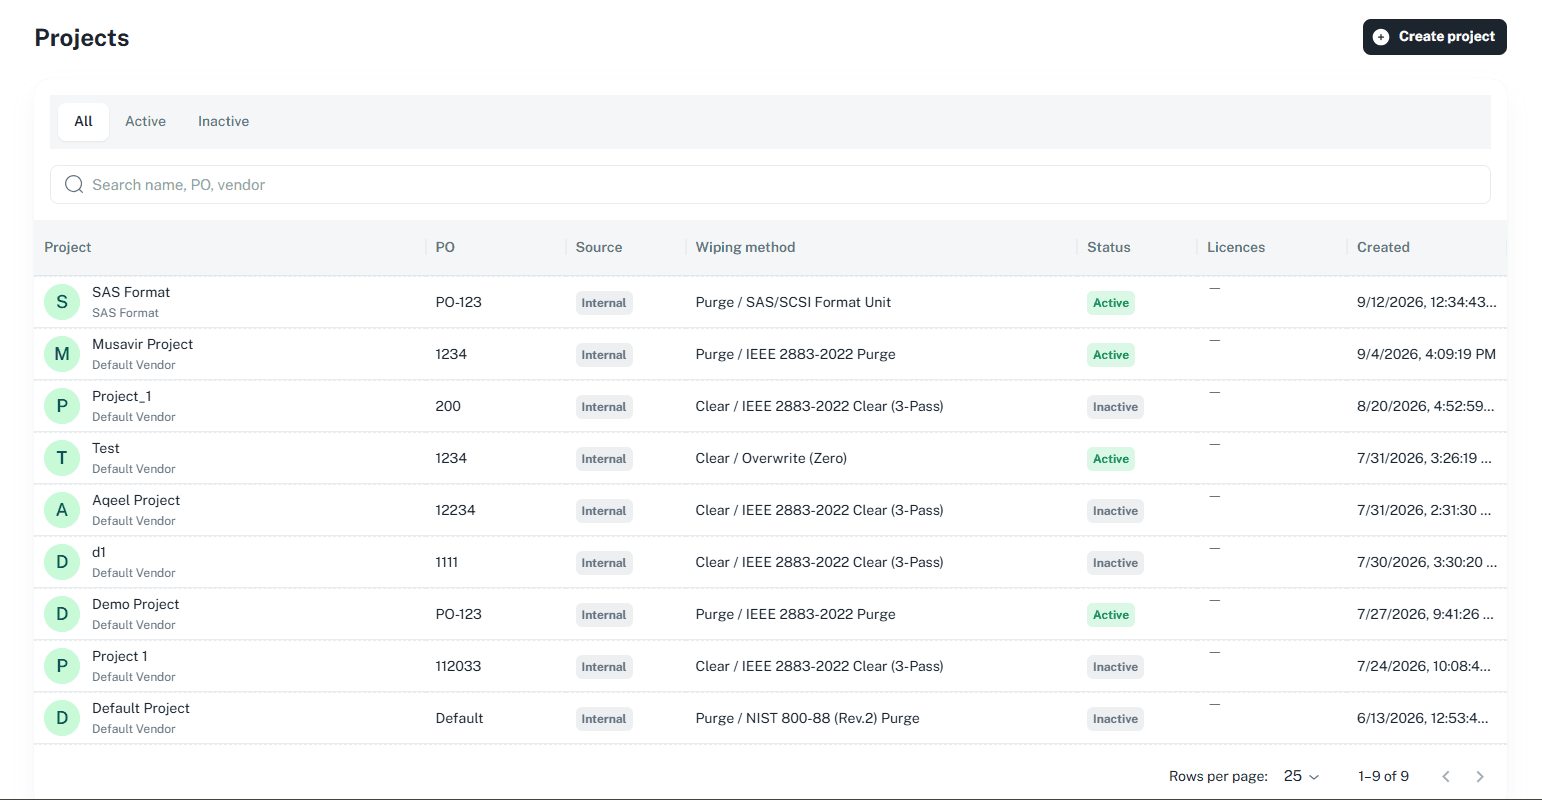
The Projects list
Click Projects under Configuration in the portal menu.
- Filter with the All, Active, and Inactive tabs.
- Search by name, PO, or vendor.
- Columns: Project, PO, Source, Wiping method, Status, Licences, Created.
Creating a project
A project needs a vendor profile. If the vendor is not listed, add it first in Vendor Profiles.
Enter a Project name. The name must be unique in your organisation (case-insensitive).
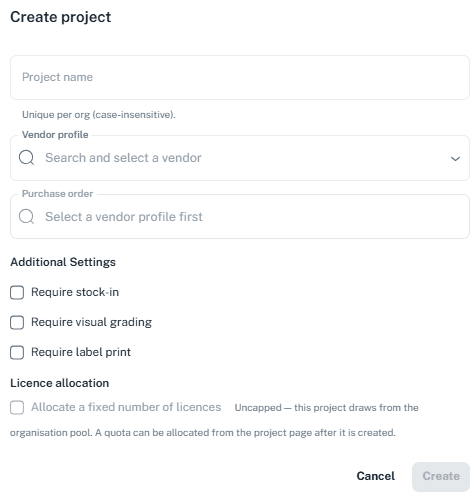
Under Additional Settings, tick any that apply to this project:
- Require stock-in
- Require visual grading
- Require label print
Under Licence allocation, leave the project Uncapped to draw licences from the organisation pool, or tick Allocate a fixed number of licences. A quota can also be set from the project page after it is created — see Setting a licence quota.
Viewing a project's configuration
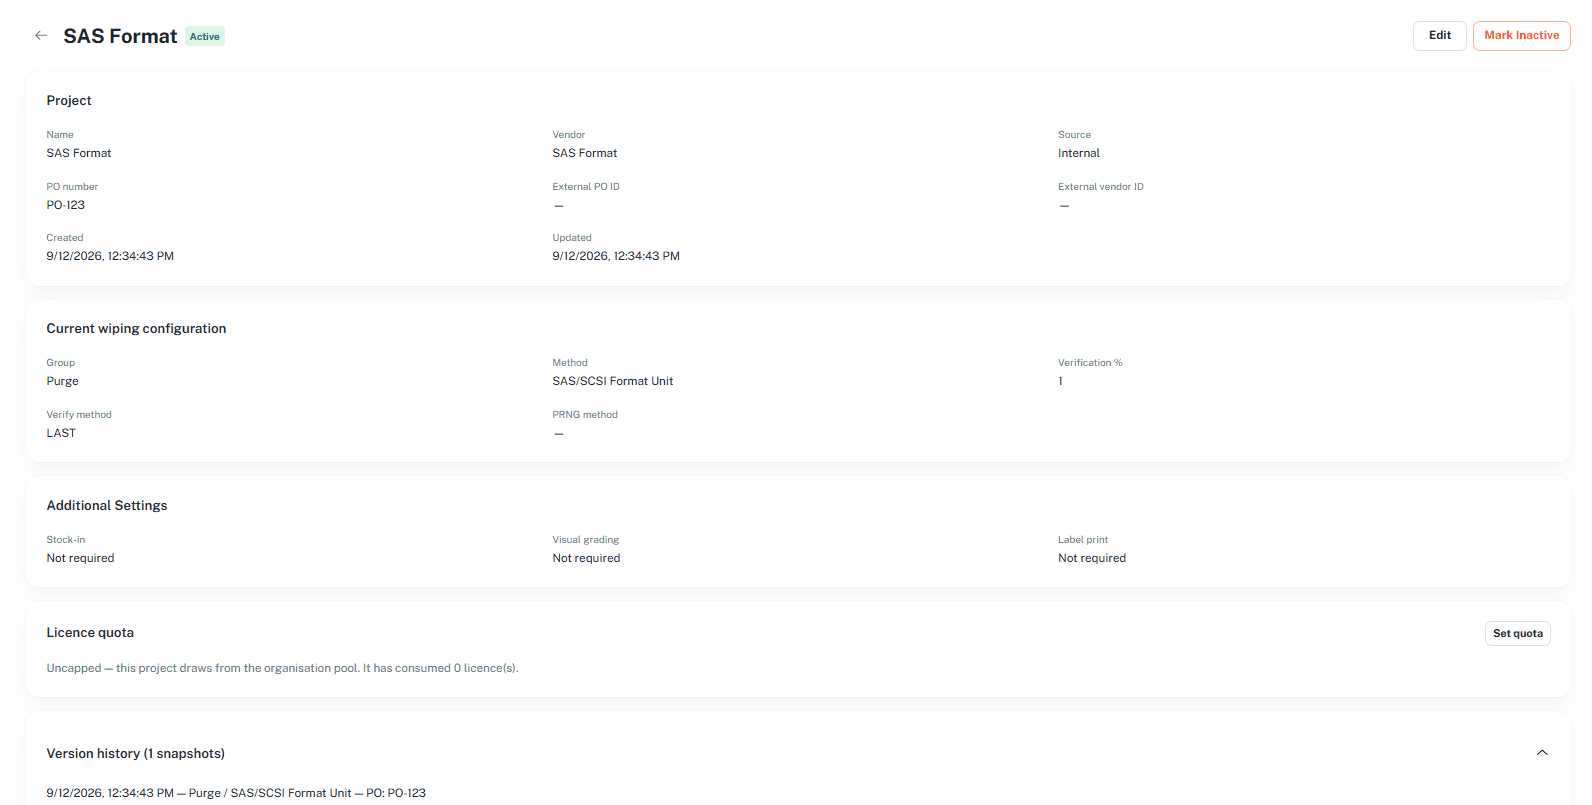
Select a project from the list to open its configuration page. It contains:
| Section | Details shown |
|---|---|
| Project | Name, Vendor, Source, PO number, External PO ID, External vendor ID, Created, Updated |
| Current wiping configuration | Group, Method, Verification %, Verify method, PRNG method |
| Additional Settings | Stock-in, Visual grading, Label print (required or not required) |
| Licence quota | Current quota and licences consumed |
| Version history | A snapshot of each configuration change, with date, wiping method, and PO |
Editing a project
Update the Name or Purchase order number if needed.
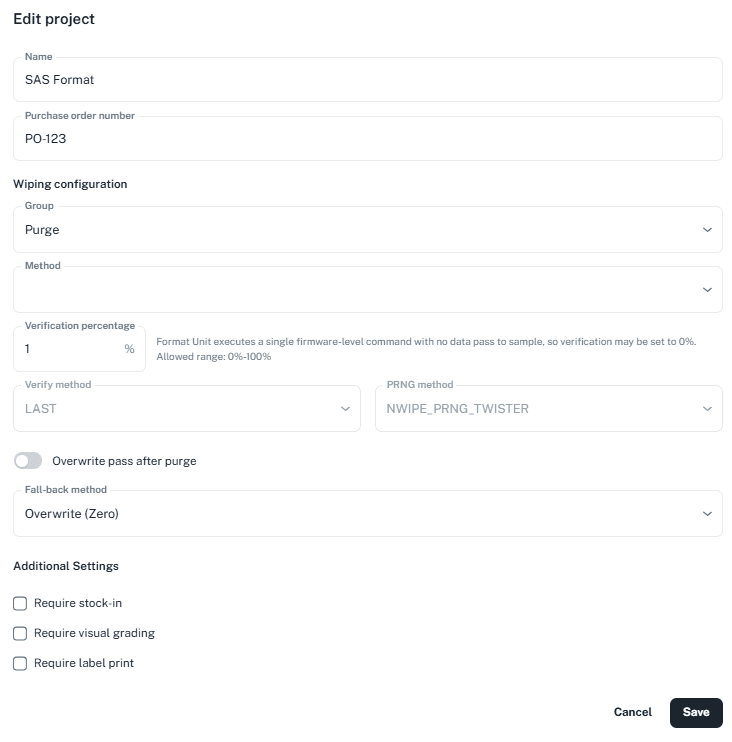
Under Wiping configuration, set:
- Group and Method — the sanitization group and wiping method.
- Verification percentage — the helper text beside the field shows the allowed range for the selected method.
- Verify method and PRNG method.
- Overwrite pass after purge — turn on or off.
- Fall-back method.
For background on sanitization groups, see Data Sanitization.
Setting a licence quota
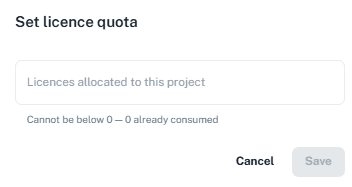
Enter the number of Licences allocated to this project. The quota cannot be lower than the number of licences the project has already consumed.
Marking a project inactive
Open the project and click Mark Inactive (top right). The project's status changes to Inactive.
Next: Vendor Profiles